Basics
- The Response Follow-Up Tool allows you to quickly add a Response Follow-Up record for one or multiple individuals. And it's mobile-friendly, so you can add responses on the go!
- From the tool, a User can set ...
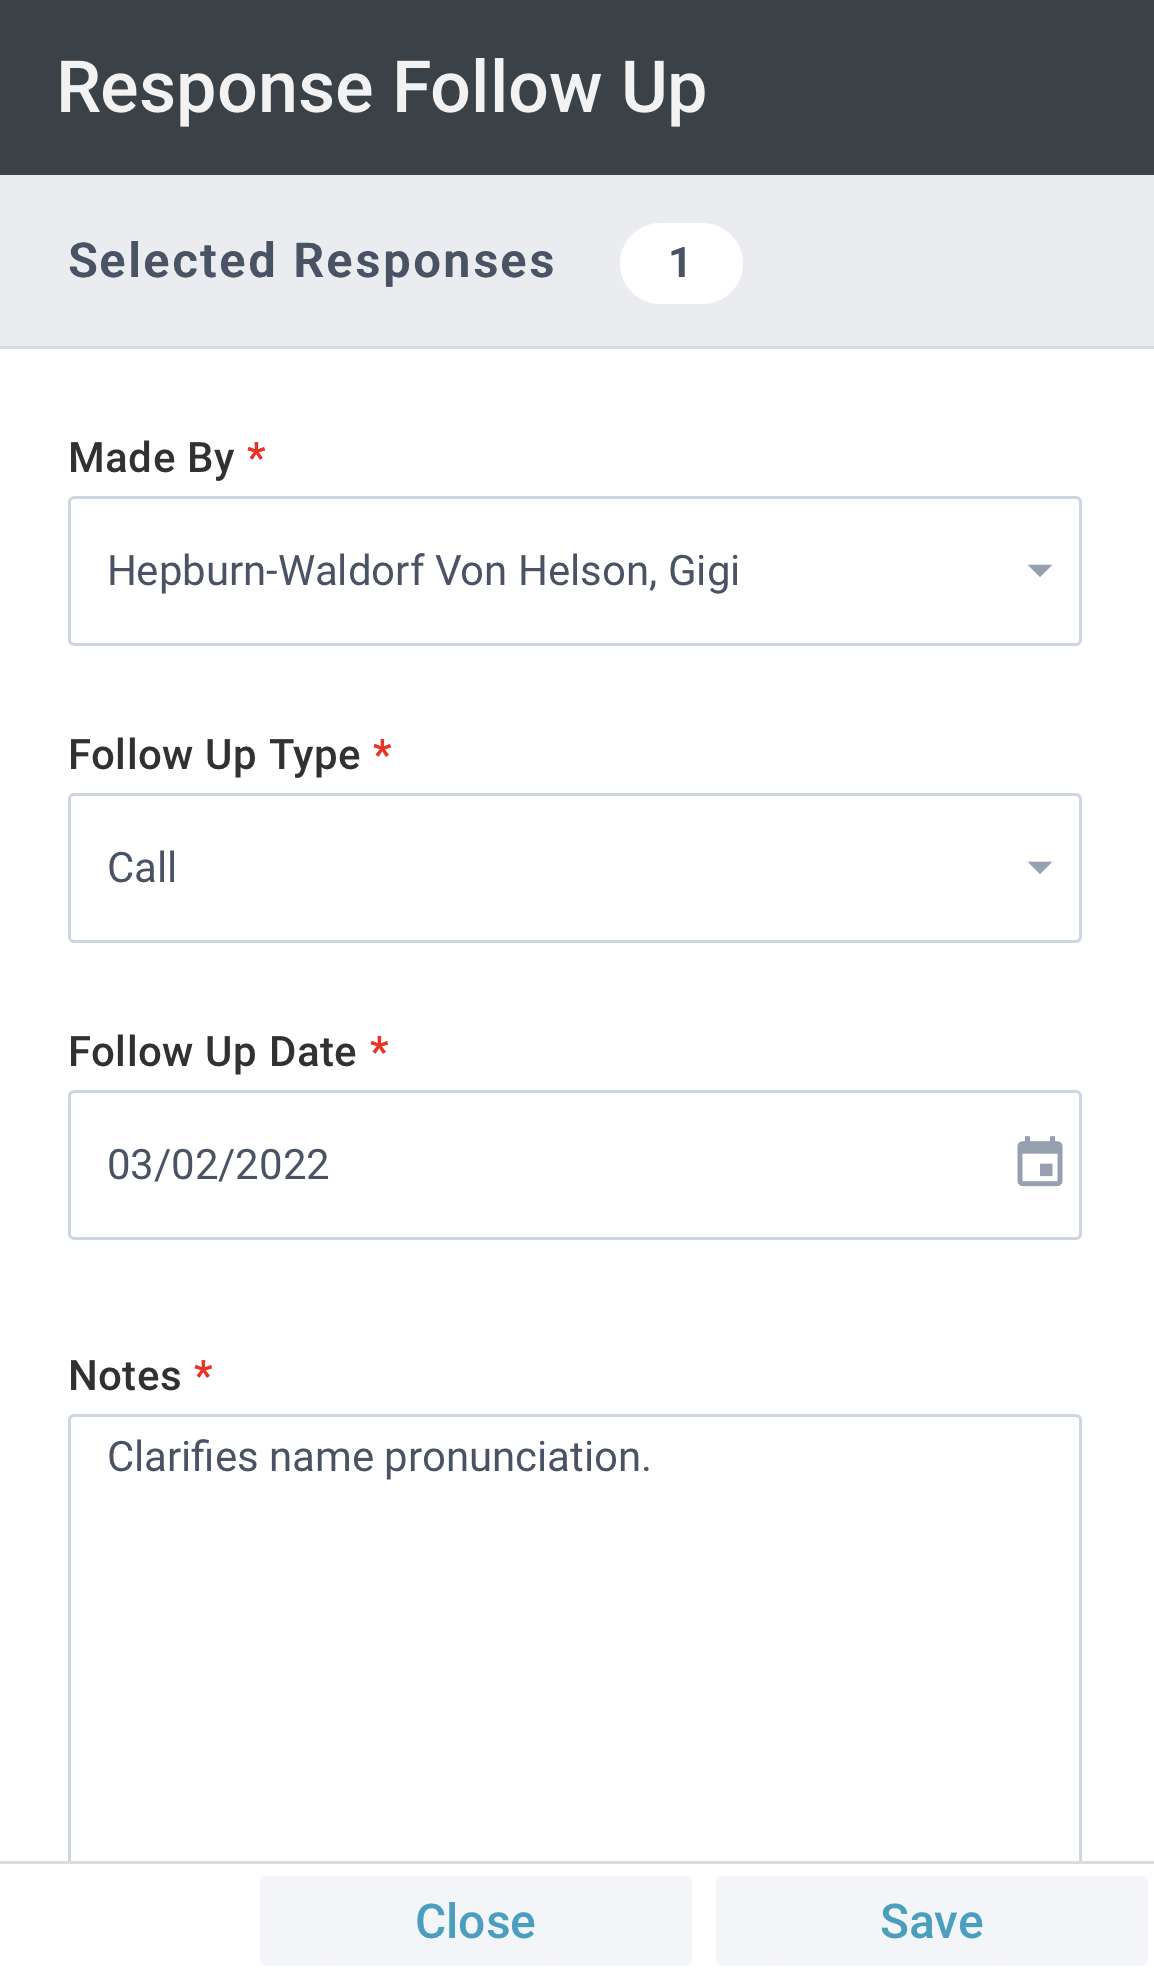
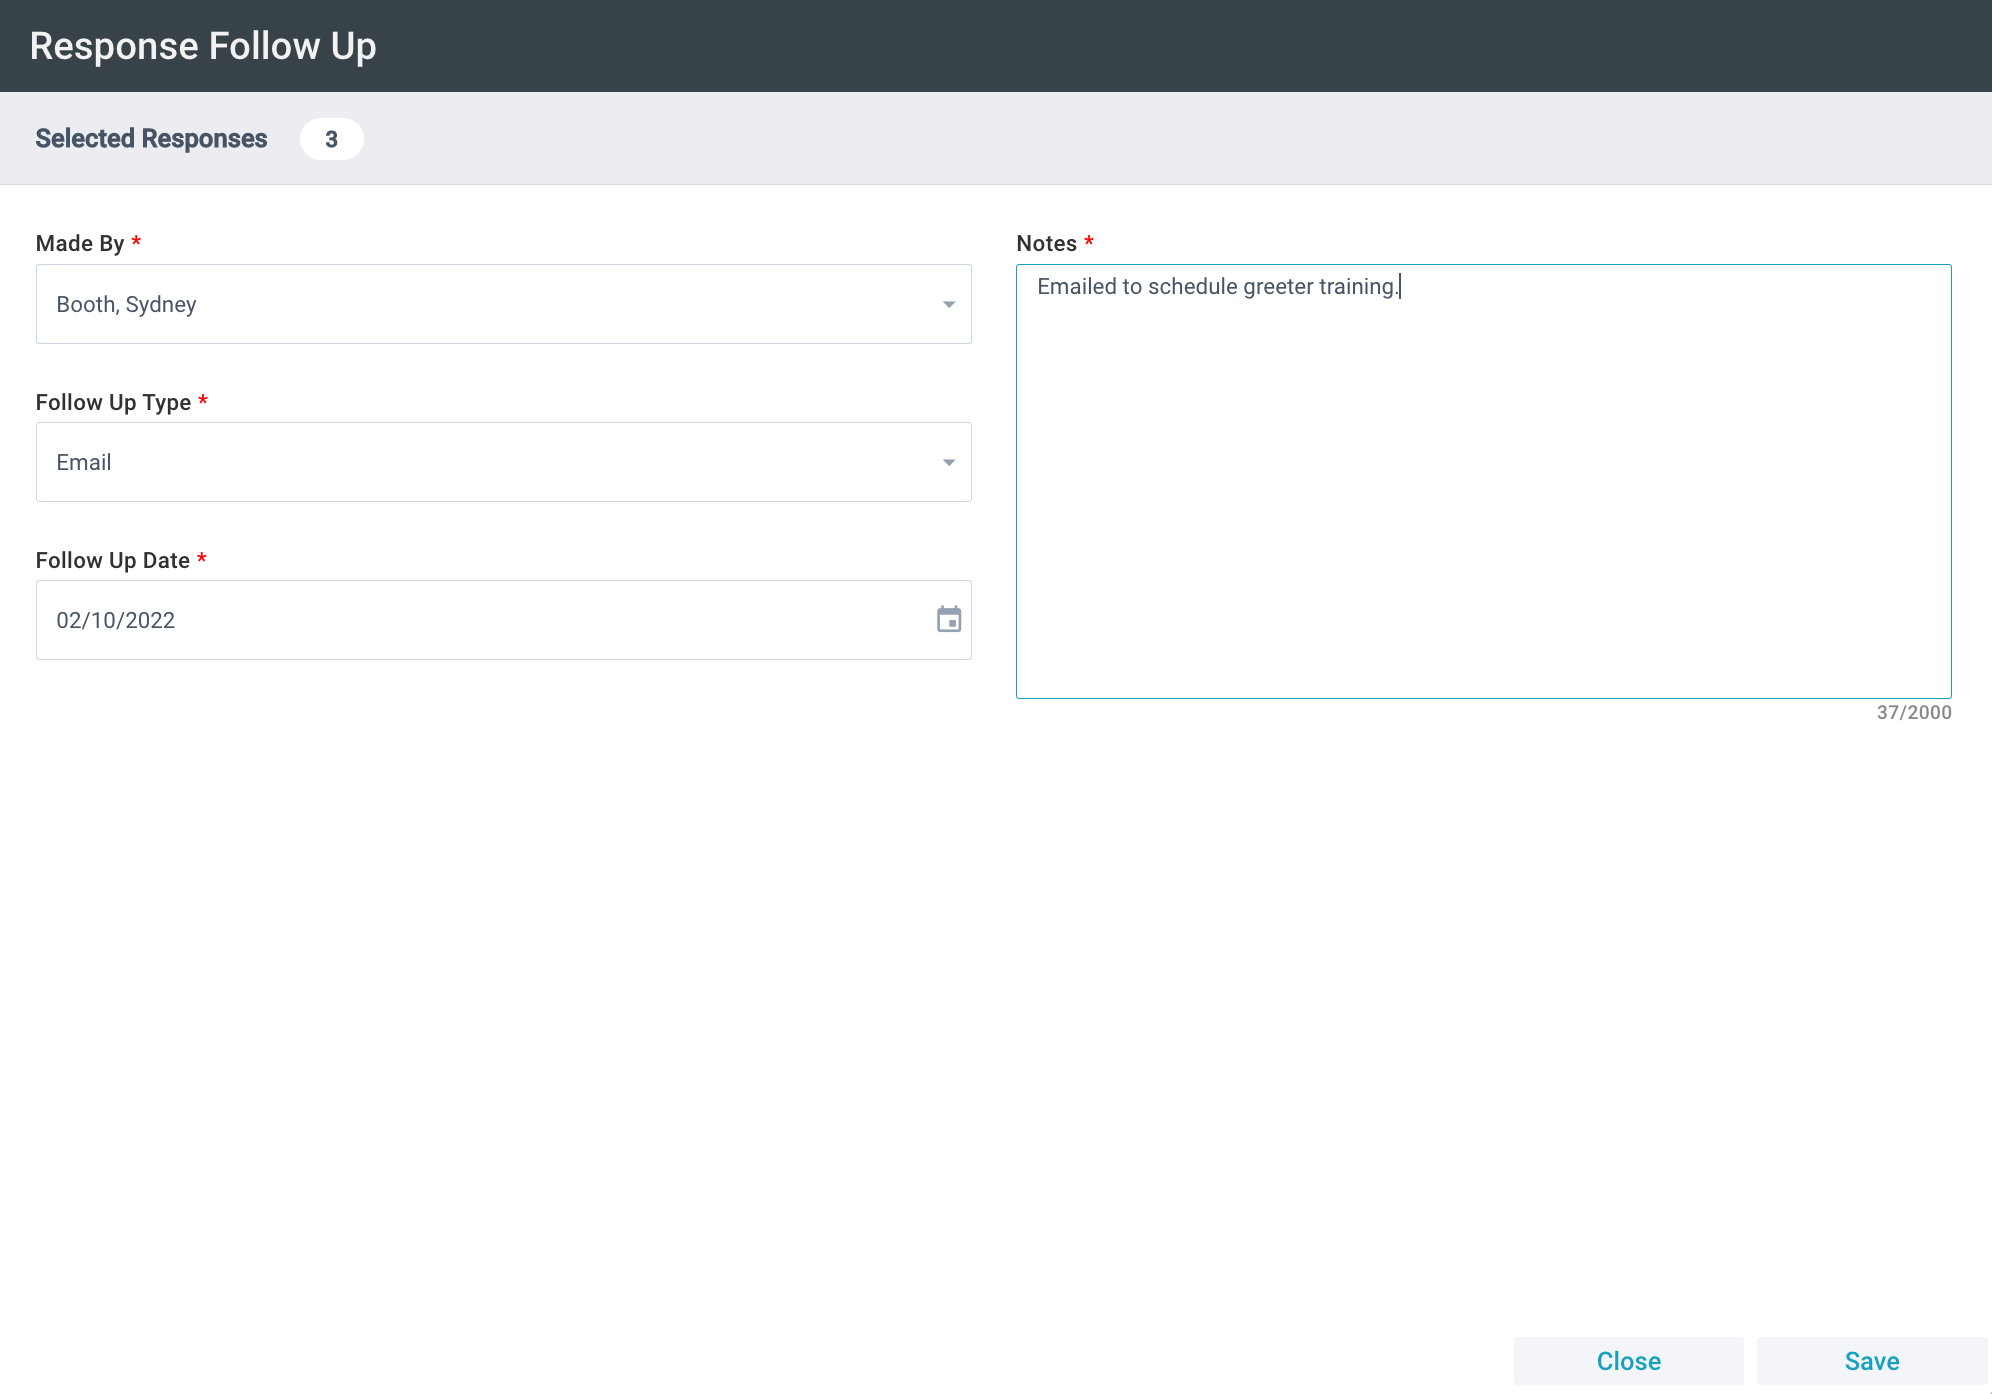
- Follow Up Made By: A required field that will be auto-populated with the logged-in User. But any User with at least one Security Role can be selected from the dropdown menu.
- The Follow Up Type: A required field indicating what was done to follow up on the Response.
- The Follow Up Date: A required field noting the date the follow-up action was completed. Tapping the calendar icon will autofill the current date.
- Notes: A required field for any notes the User has regarding the Response. You can add up to 2,000 characters and a handy counter will let you know how much more you can say.
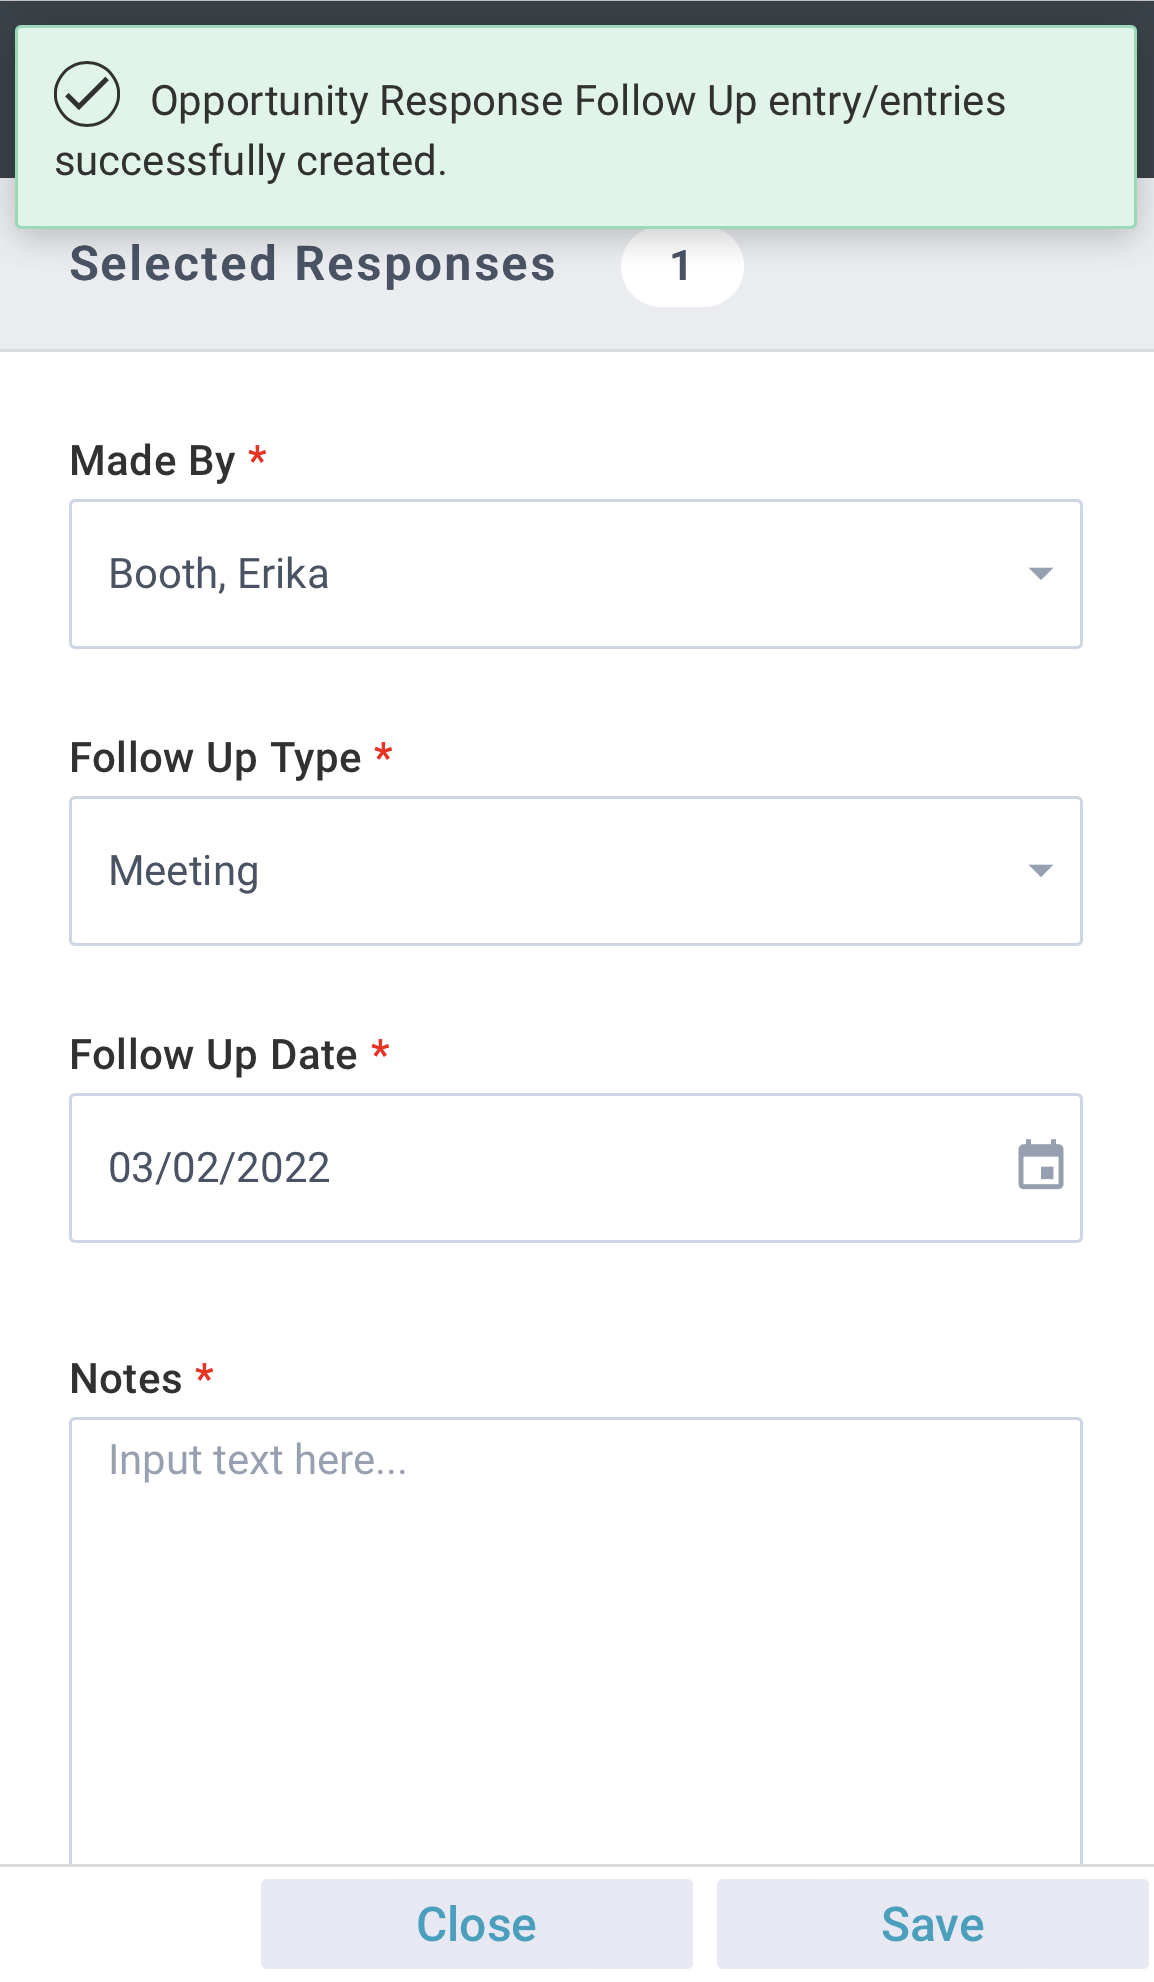
- After saving, the tool will reset so additional Response Follow-up records can be added.
Desktop
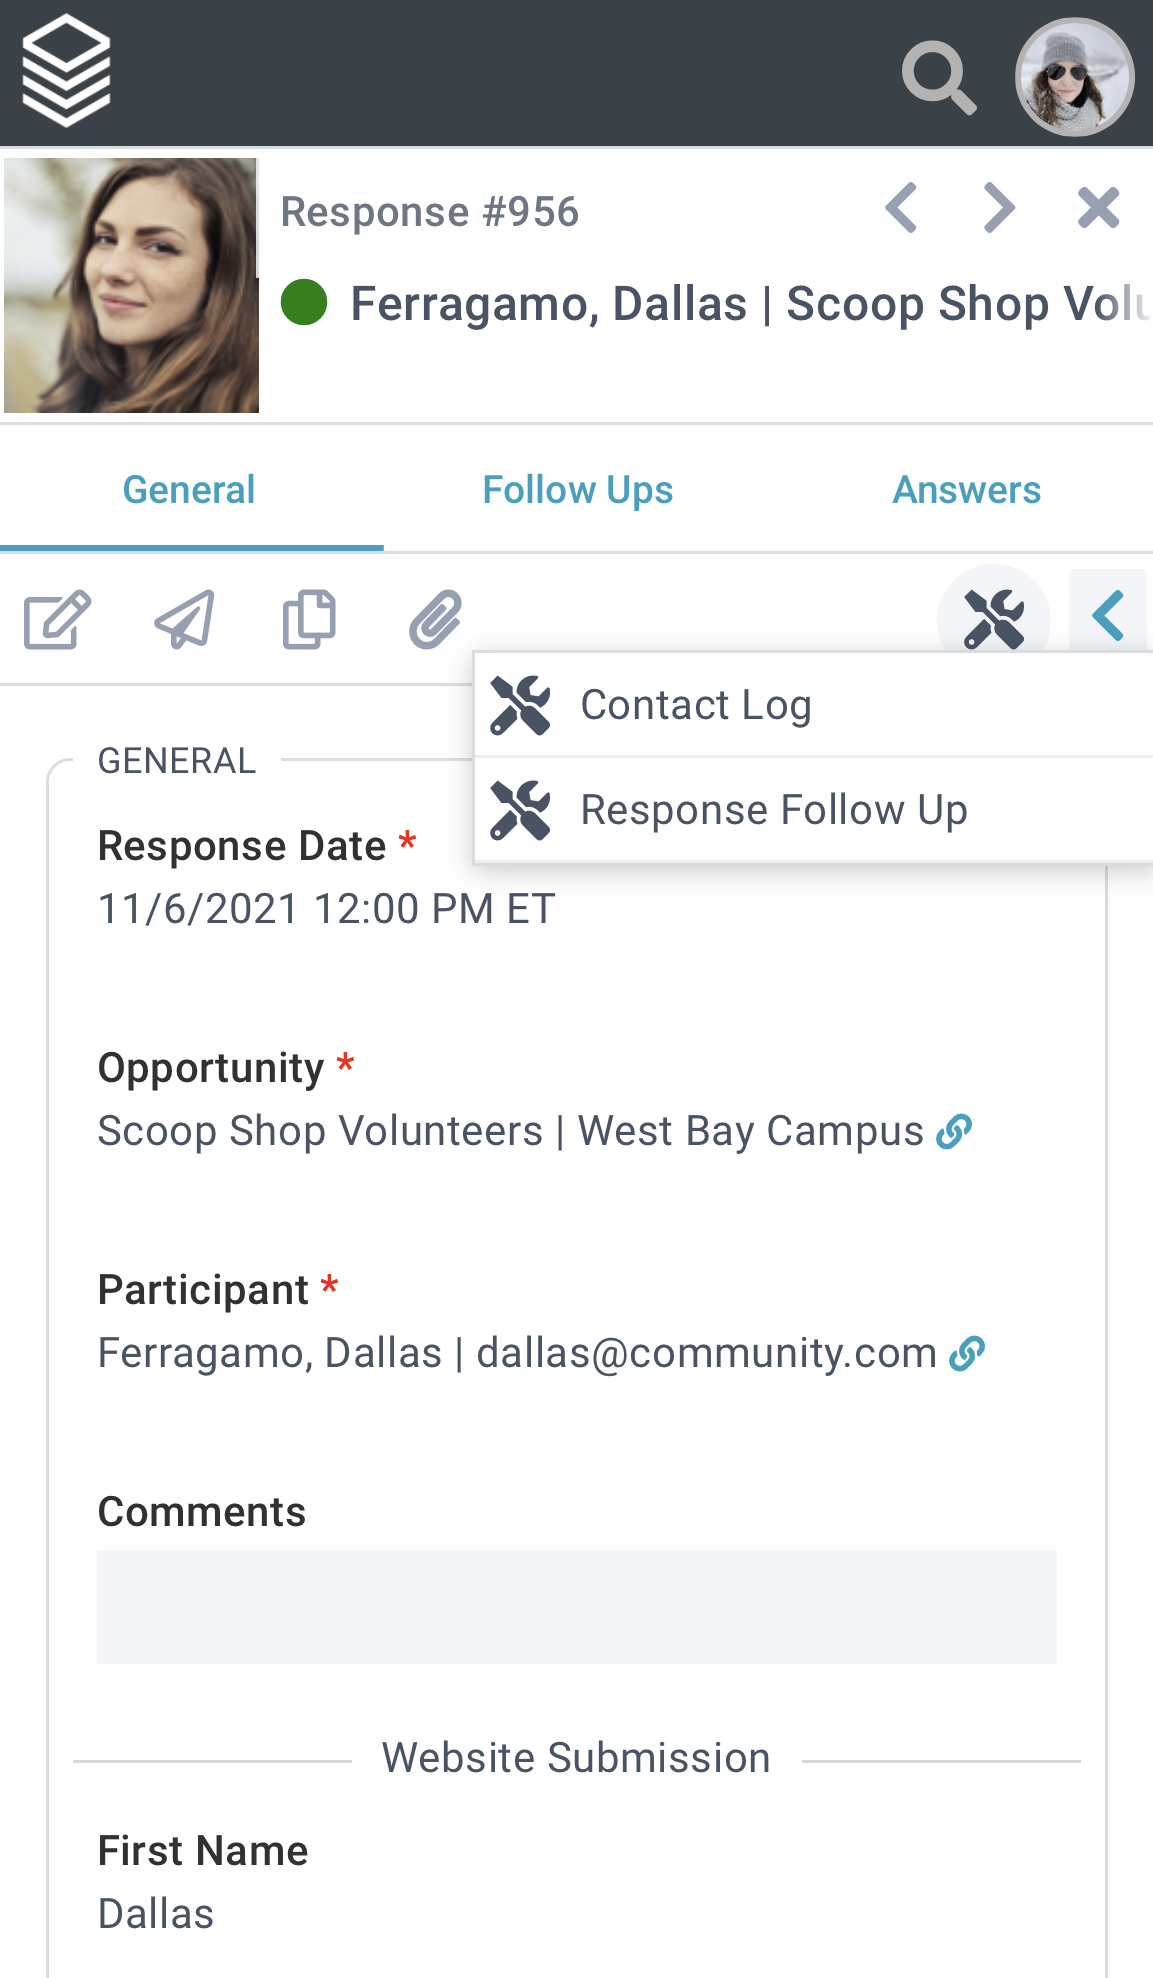
- The Tool can be launched from an open Response or selection of Responses.
- If launched from a selection of Responses, the number will be noted in the tool.
Mobile
- The Tool can be launched from an open Response.
Initial Setup
 The Response Follow-Up Tool is available on the Opportunity Responses page. SPoCs can grant Users access via the normal process.
Using the Response Follow-Up Tool
Desktop
- Opportunities > Responses
- Either
- Select one (or more!) Response
- Open a Response
- Tools > Response Follow Up
- Select the Follow Up Type
- Select the Follow Up Date
- Add any notes
- Save
Mobile
- Opportunities > Responses
- Open a Response
- Tools > Response Follow Up
- Select the Follow Up Type
- Select the Follow Up Date
- Add any notes
- Save