Deploy Your Skin
Once the template files are created and organized, it's time to move them to your production server.
Create a Skin File
First, create a zip file of your skin. It's important that you NOT include the skin folder in the zip file. The zip should contain the htm file and any subfolders.
Zipping on Windows
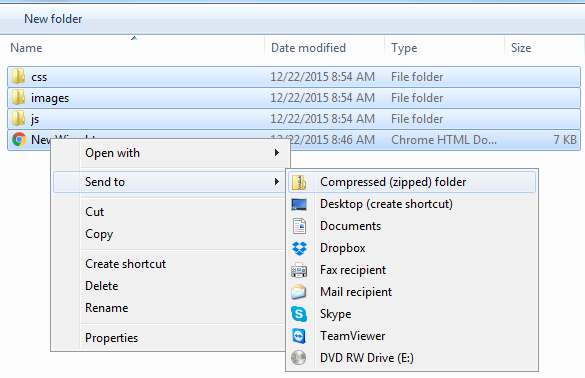
Here is the easiest way to accomplish this in Windows:
- Select everything in the skin folder (not the folder itself)
- Right-click the skin htm file
- Choose Send To > Compressed (zipped) folder
Zipping on Mac
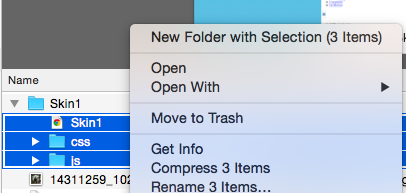
Here is the easiest way to accomplish this in Mac OS
- Select everything in the skin folder (not the folder itself)
- Right click (ctrl + click)
- Choose "Compress"
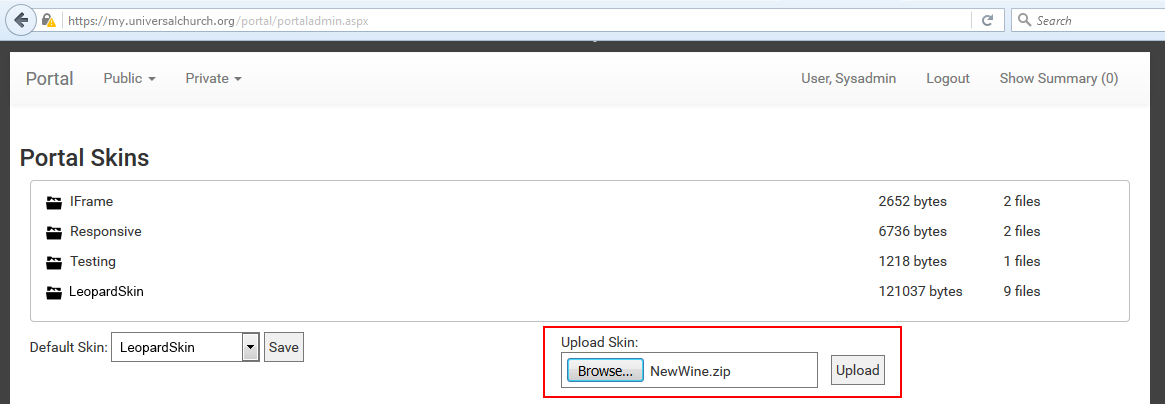
Upload Using Portal Admin
In the Portal Admin page, you can upload and test your skin file. If your zip has a different name than the htm file, the Portal uses your htm file for the name.
Skin Upload Errors
Something was wrong with your uploaded skin file. Please make sure there is only one htm file in the root of skin zip file.
This error will occur for any of several reasons. Use the following troubleshooting steps to correct the issue.
Troubleshooting Steps
If you are unable to upload or preview your skin, double-check the following:
- You must name your skin with an htm extension. You cannot use the html extension.
(The skinning engine does not open a html file and the Portal does not load). - Your zip file contains the htm file in the root (not in a subfolder).
- Your htm file should only have alpha numeric characters in the file name.
- Your htm file is not named the same as an existing skin.
The name of the htm file is the important part, not the name of the zip. Names are not case sensitive. - You must only have one htm file.
- Other files should also be moved from the root to a subfolder.
